
Before we get into the heart of our adventures I thought I would show you around our tiny home on wheels.
We initially had a plan to reconvert Michaels old van, so we gutted that and started putting in the base of our floor. That is until we realized he was about to upgrade to a bigger and better adventure mobile. One day an extended Ford e250 van with an extended top happened to appear in his driveway and we got to converting that instead!
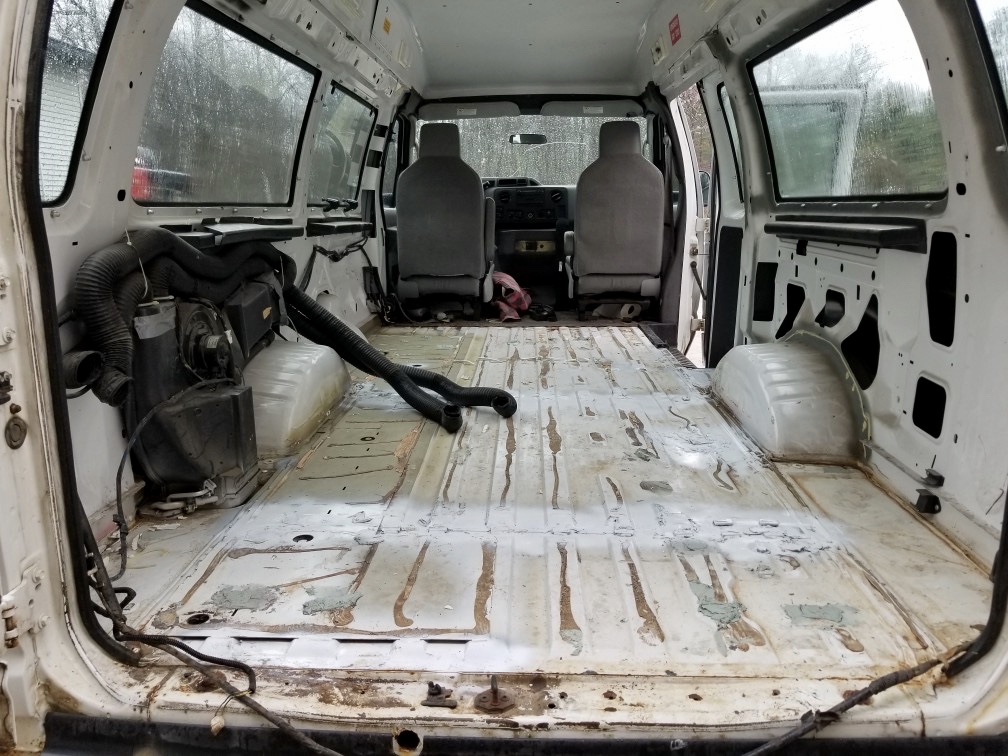
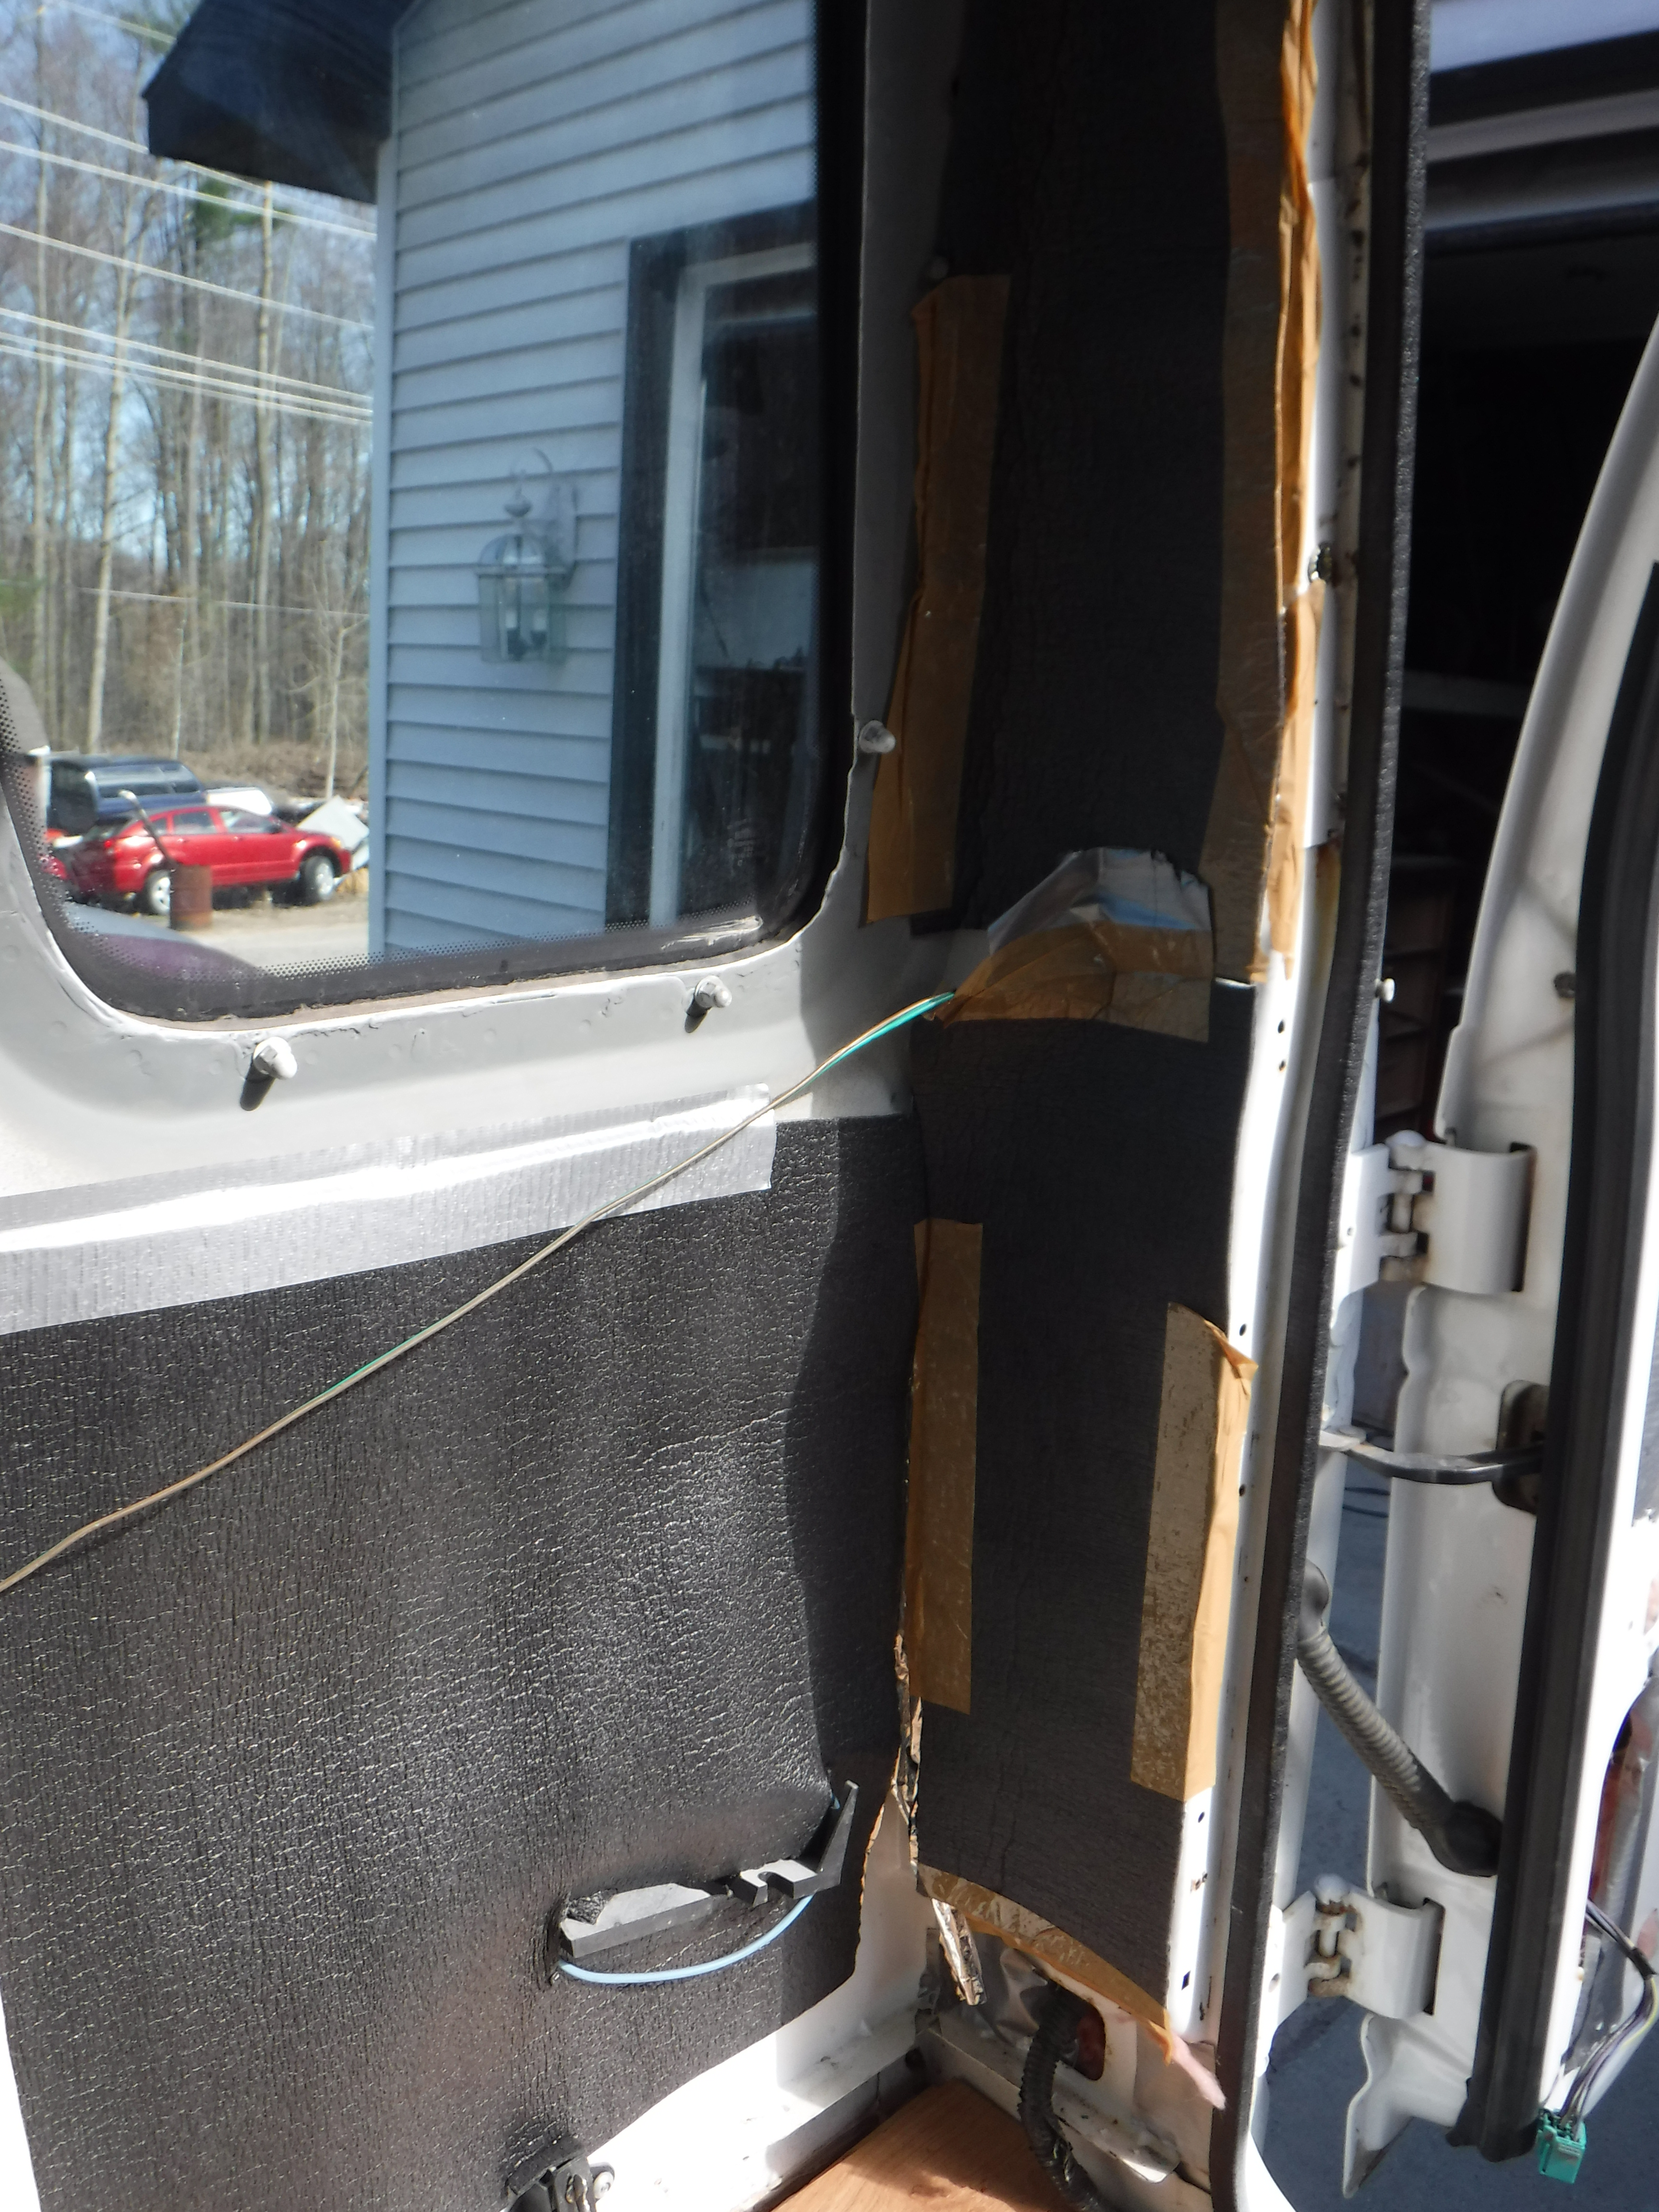
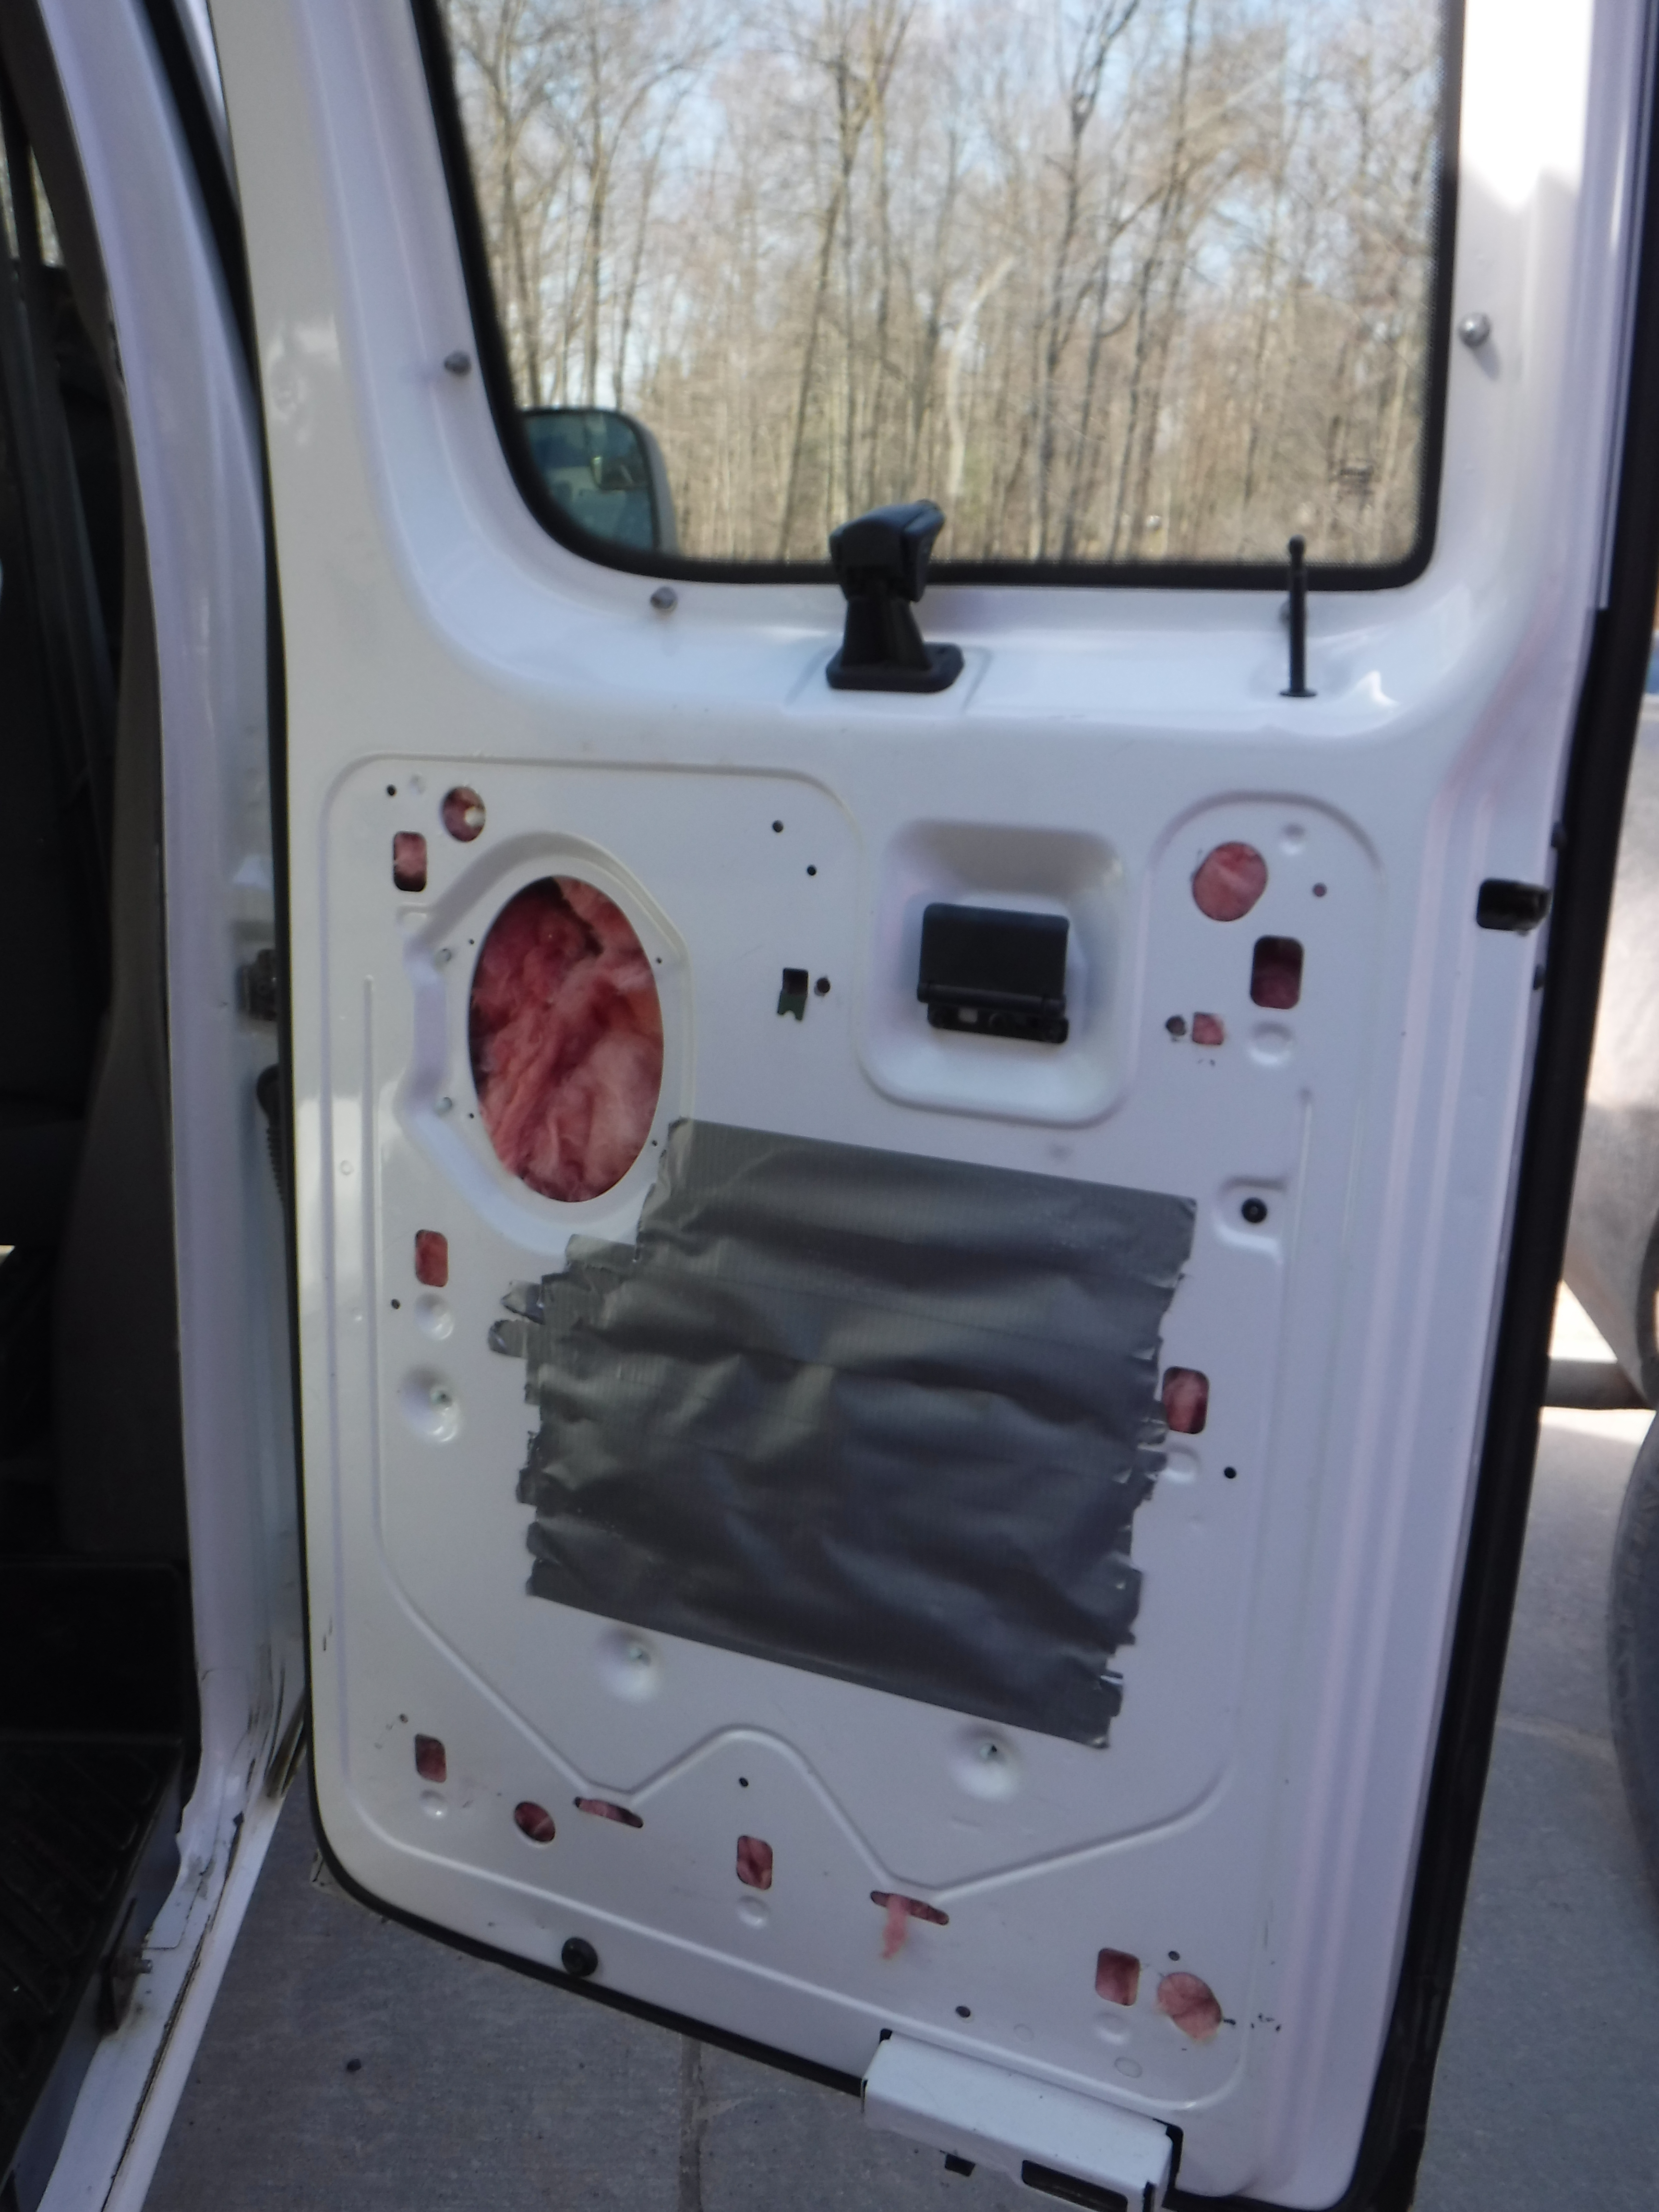
It originally was a passenger van, so we stripped out the plywood floor that was covered with a rubber mat, as well as the L-track tie downs and wheelchair lift in the back. After we took all the panels off the walls, the interior was bare and the real fun began. There were a few rust spots to grind off, holes to fill, and of course a deep clean was in order. As Michael was doing some exterior work, I went to town on insulating the van as much as possible – disregarding all 12 windows. I used fiberglass insulation in the larger areas, covered them with duct tape, and then used spray foam to get to the smaller holes. The duct tape was just a precaution to keep moisture off the insulation. We took it even a step further by putting sound deadening material on the exposed metal under the plastic covers (which we also later used as window covers for the back when we slept.)
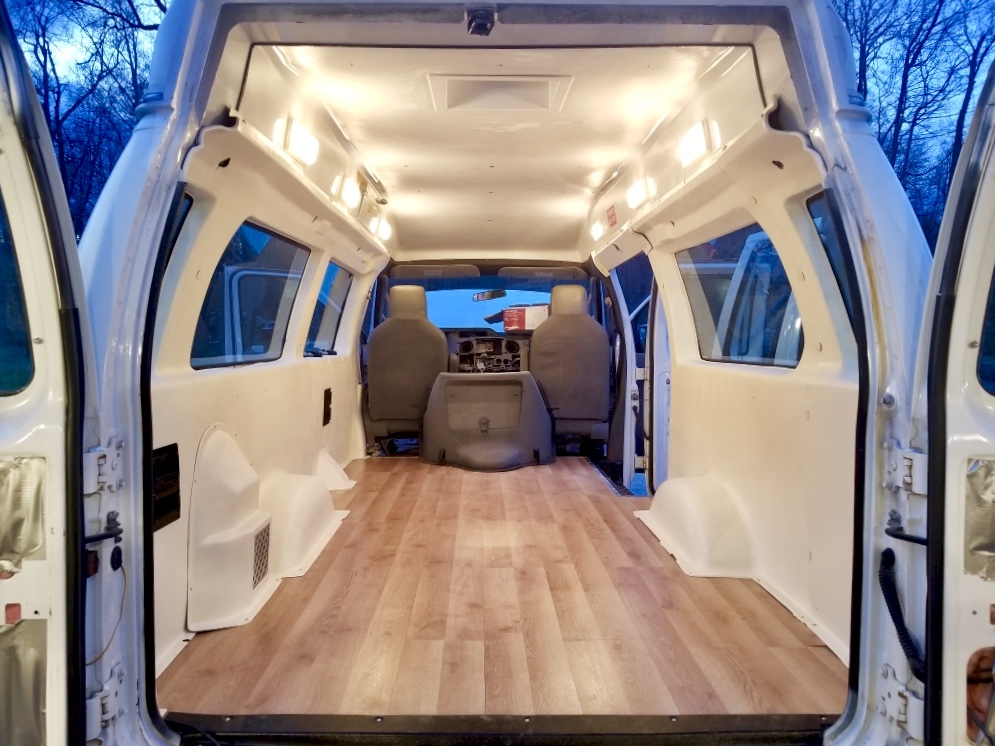
Keeping with our idea of a “wood” floor, we laid down some foam board insulation with 3/8″ plywood sheets over it as our base. The laminate wood floor went in next. This tongue and groove flooring was from Menards and it turned out beautiful. We kept it a floating floor so it was free to twist with the van when we went down gnarly dirt roads (which indeed happened). Another move we made was to paint the dark gray plastic panels that had come with the van. This started off as an idea that we kept going back and forth on, but once it was completed it turned out to be a great aspect of the van. The lighter cream color not only opened up the space but the fresh coat of paint helped cover up some of the old dings and scratches.
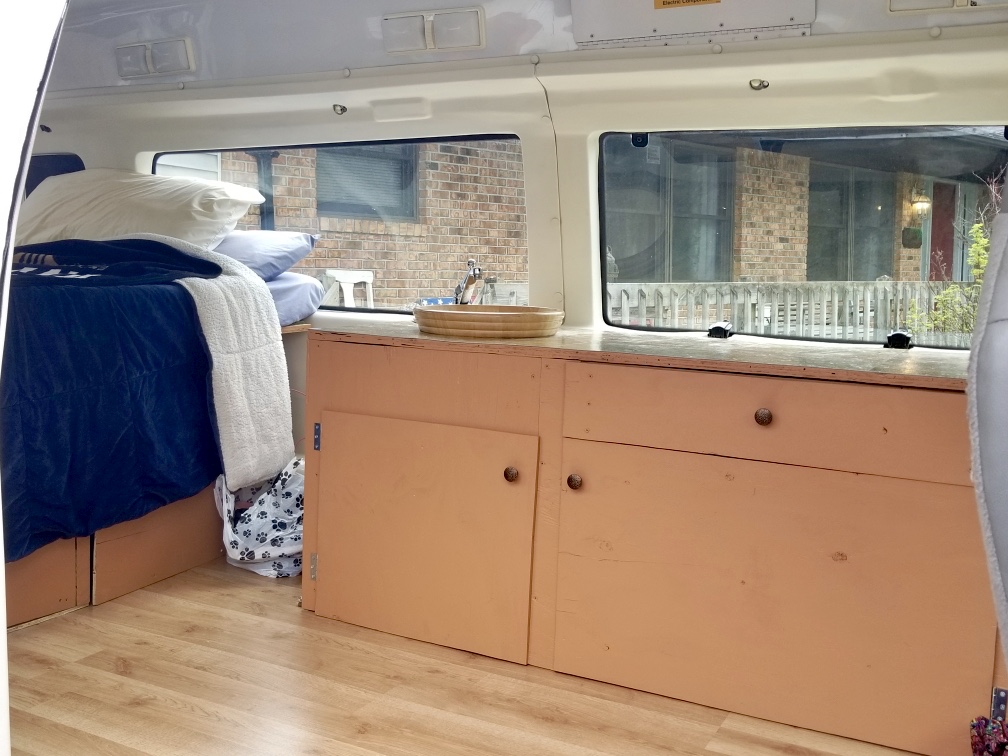
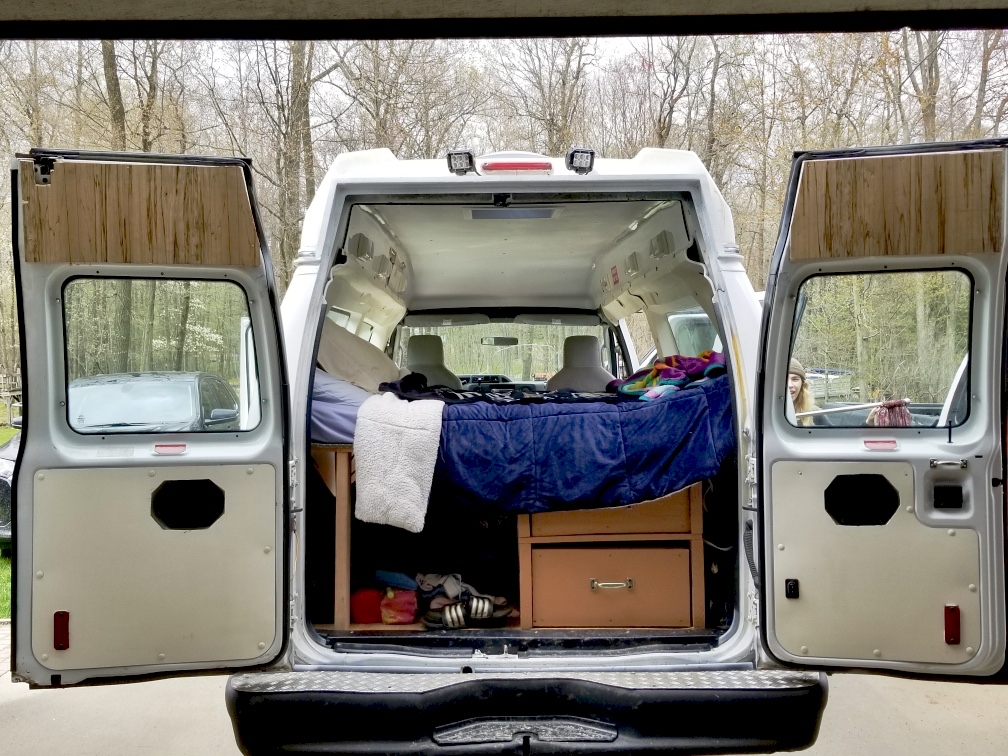
Now that the shell was complete, it was time to furnish it. We up cycled the drawers and floor from the old van, adding a few modifications. Instead of having two drawers side by side, we stacked them on top of each which also made a little storage compartment, or garage as we call it, under the bed. We sleep on it width wise, and yes it is long enough! Michael is about 6′ and he can fit rather comfortably. It’s also the width of a full size bed which we decided to do so it was easier to find a mattress/topper that wouldn’t need to be cut down to size.
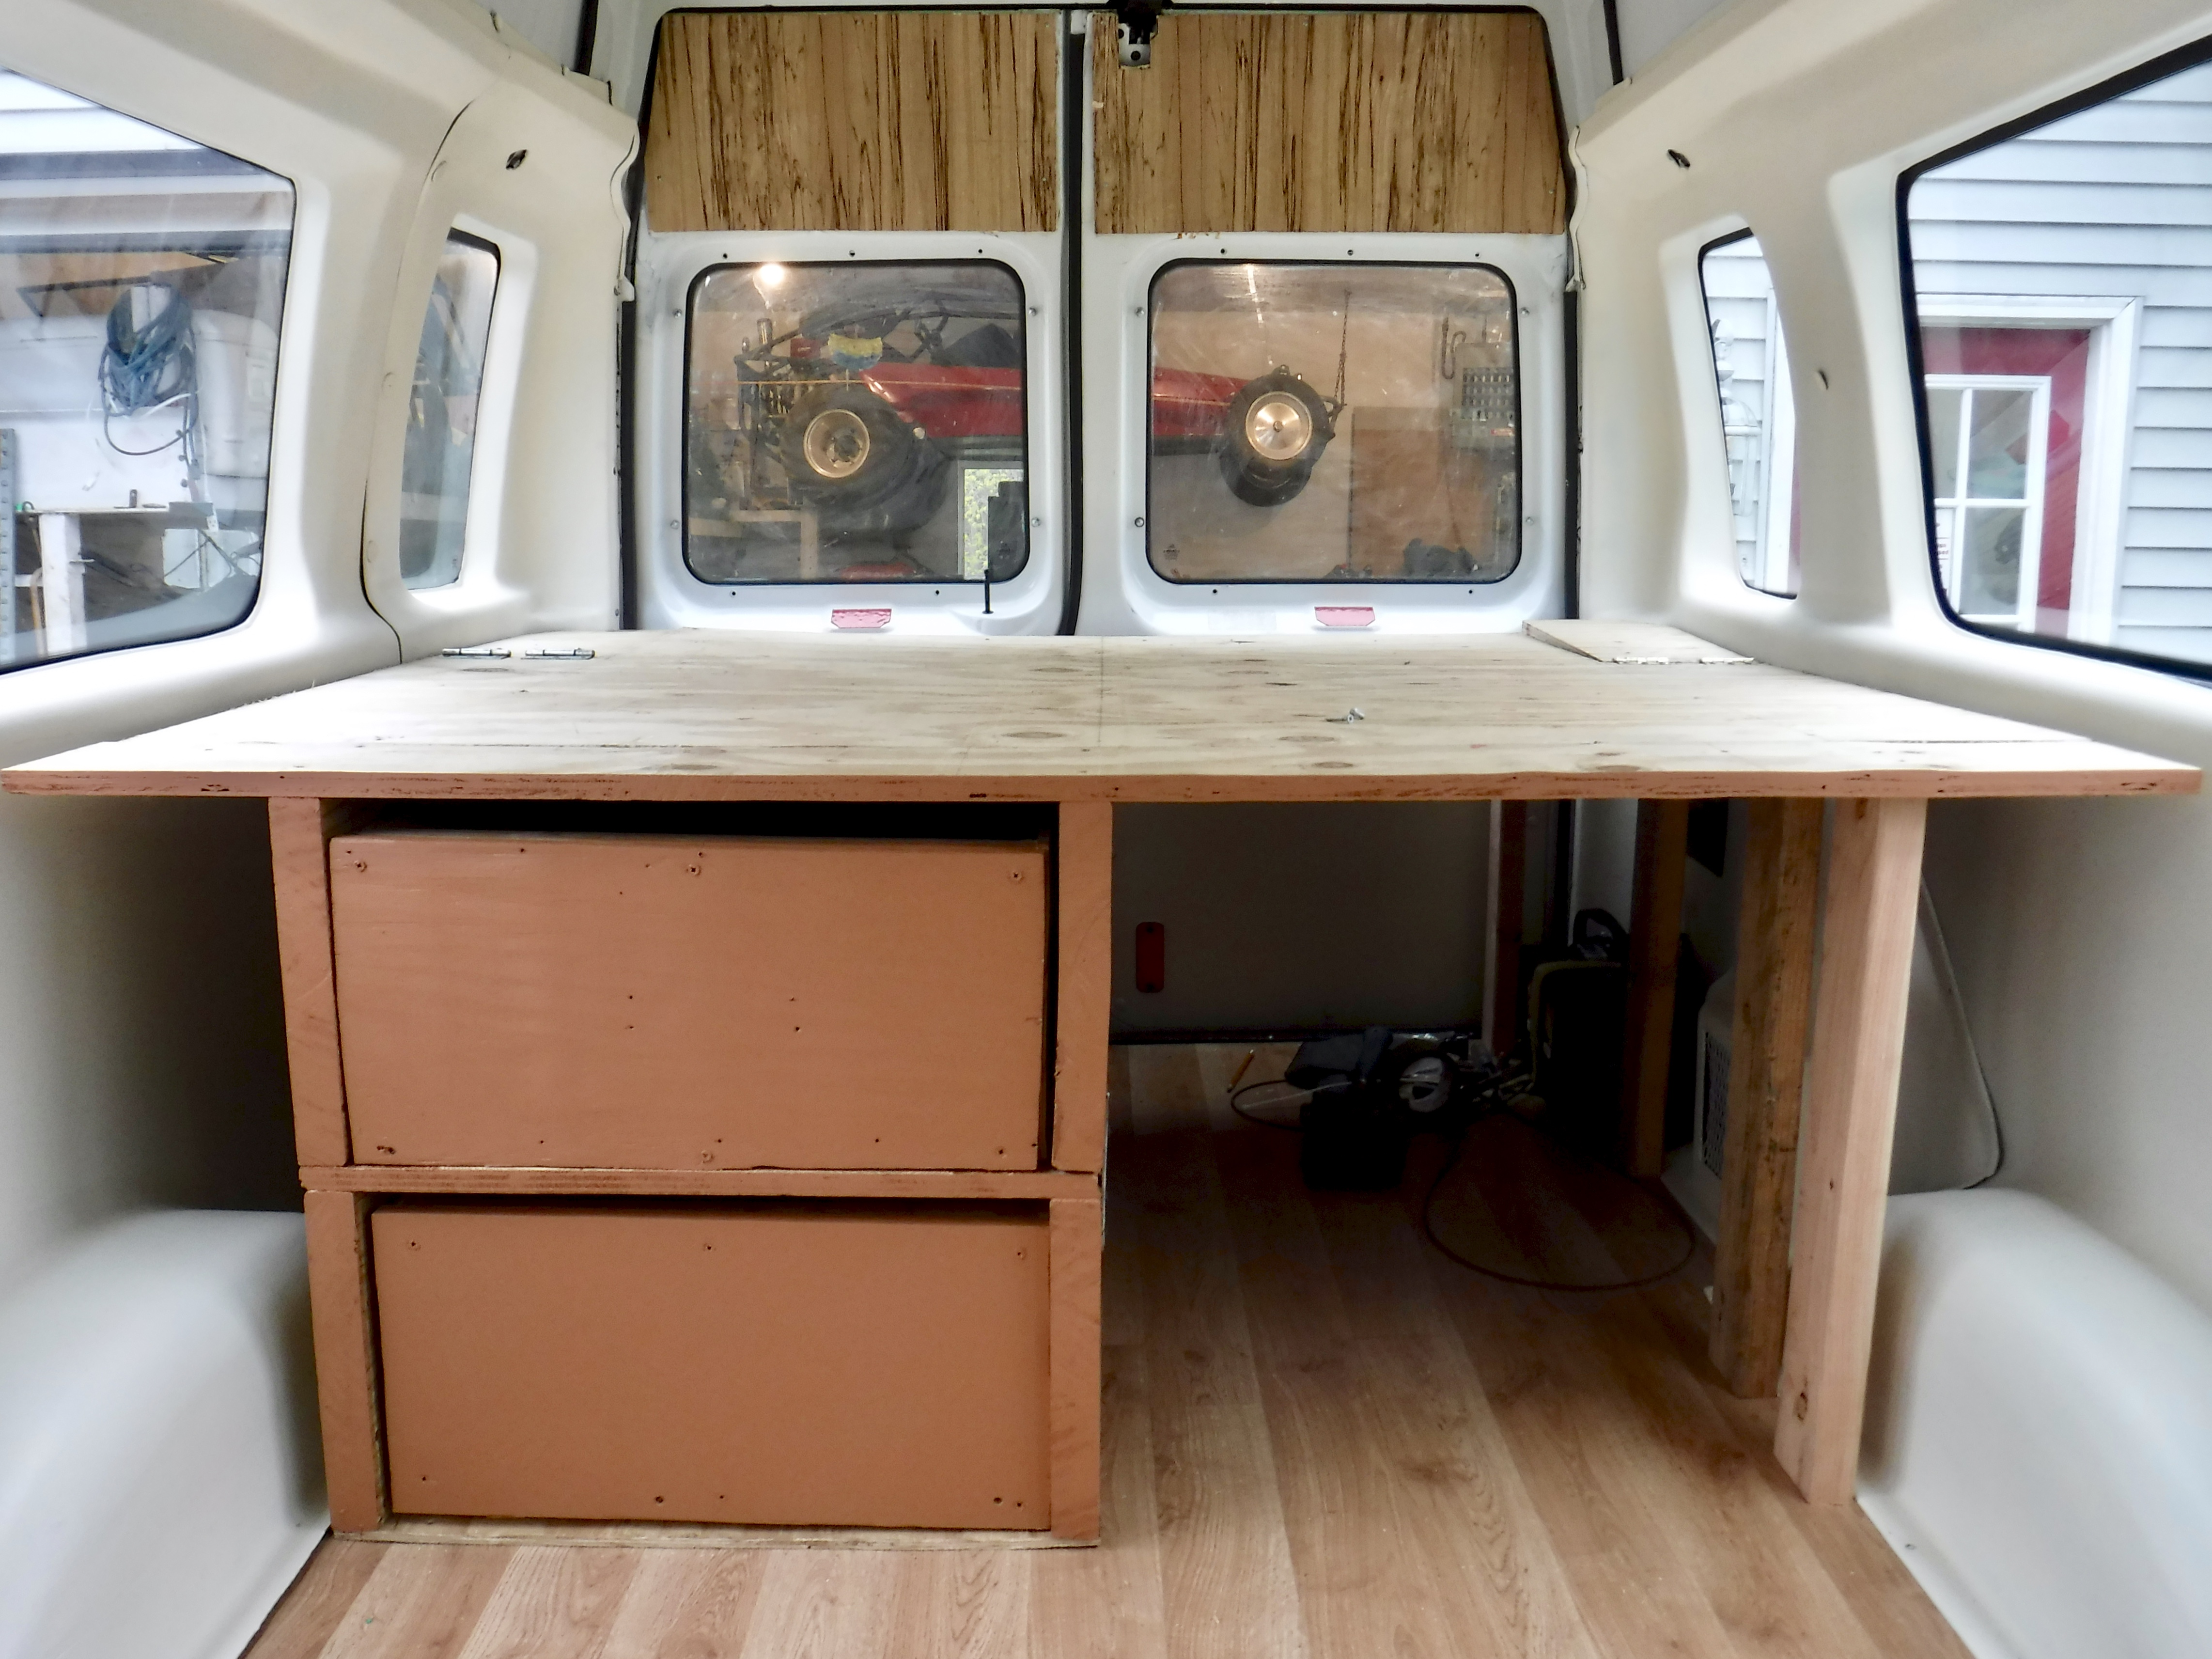
The back compartment was close to being done at this point, so we started building our counter. It was tempting to go out and buy an old desk to fit our tiny space, however we had a specific plan that we wanted, so we decided to make the whole piece from scratch. We ended up shortening the length of the table so we could access the ‘garage’ from inside the van – and it ended up being one of the best changes we could have made in my opinion.
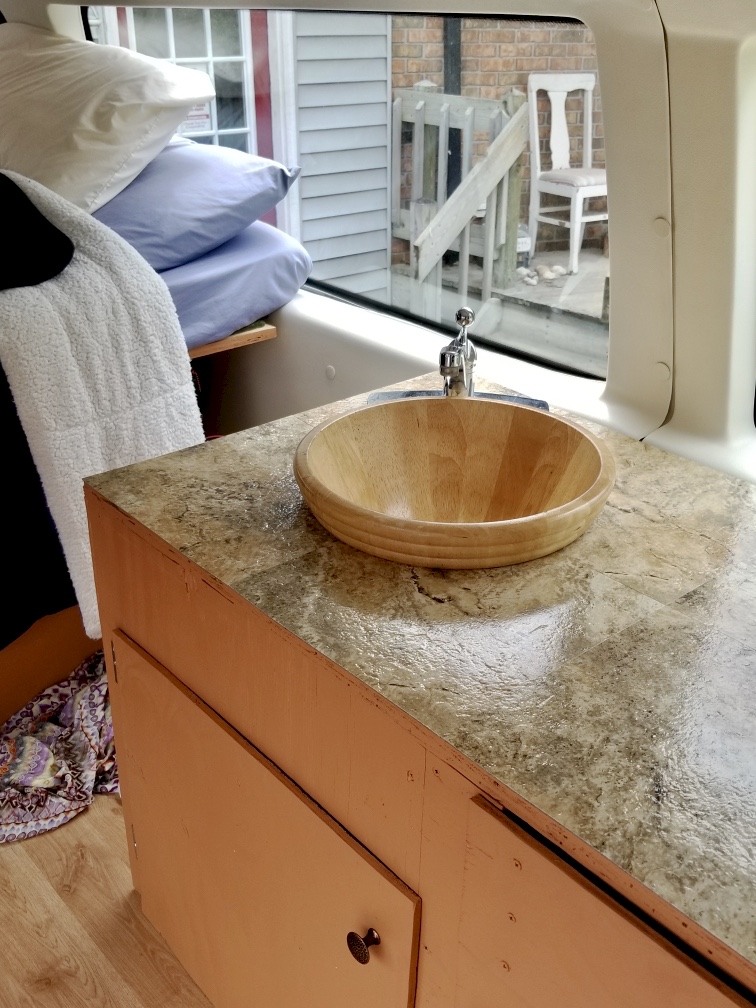
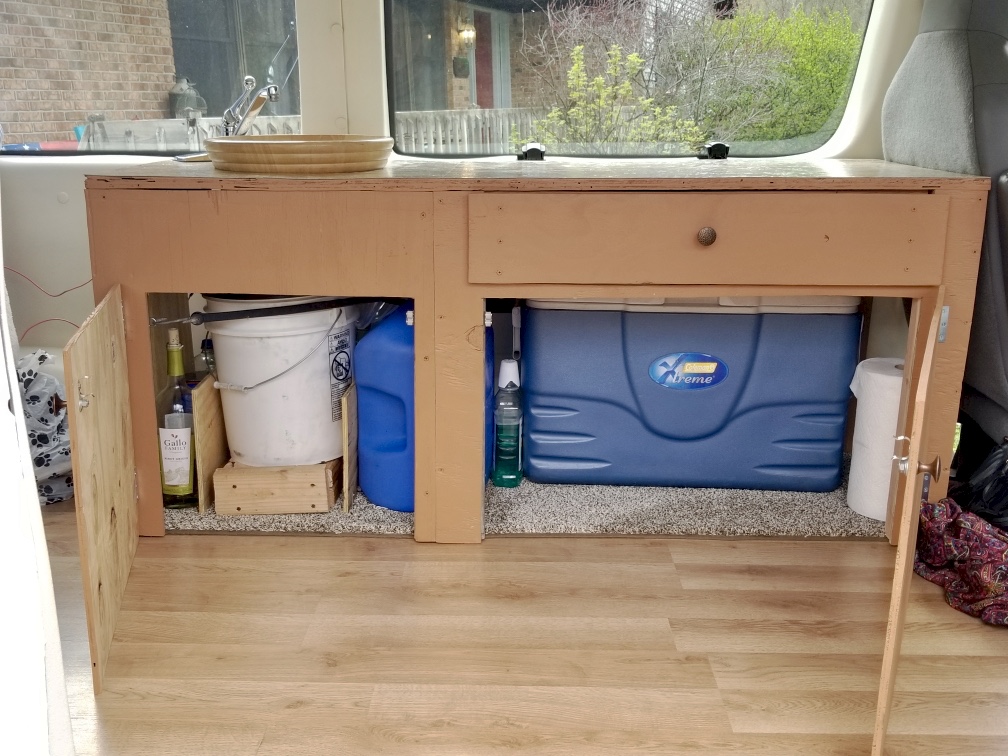
On top of the counter are vinyl squares that you would use to tile your bathroom floor. There is a recessed sink made out of a wooden salad bowl (which, might I add, is one of Michael’s proudest ideas). Underneath we have a 5 gallon bucket that is easily removable for dumping purposes, and next to it is a 6 gallon bucket for freshwater. If you’re wondering why the math doesn’t add up there, you’re right. But we never had an issue with it as long as we dumped the gray water before overflowing it!
Moving to the right side of the counter, we of course had to have the typical midwesterner “junk drawer.” It holds, you guessed it, all of our random things we wanted to access easily. This includes our toothbrushes, silverware, cups and plates, etc. Below that, is our specialty cooler compartment! We made the door the perfect width and height to be able to slide our cooler in and out so it can be tucked out of the way. We also brought a Coleman stove to cook on and the cooler ended up doubling as a nice bench seat while making dinner. Under the counter is a rug that helps prevent scratches on the floor when we pull the cooler out as well.
For accessories Michael added an extra battery under the bed to hook up our water pump from an old camper trailer and a mini power inverter too. This was useful when we made coffee or wanted to use our little personal blender. Another item we have hooked up to the battery is the roof vent fan. Michael ordered a fantastic fan and decided it was a grand idea to cut a 14″x14″ hole in the roof – and it was! The fan works great for ventilation and air flow. We also put a screen over the mini side window on the door to help keep the bugs out (aka mosquitoes) especially in the forests.
For the exterior, Michael added an LED light bar on the front grill for extra visibility on our long night drives, along with two mini LED lights in the back that are hooked up to the reverse lights. A couple more modifications on the back included a “new” and improved bumper from the old van and a customized hitch.
And that completes our little home on wheels! The whole process was a bit rushed since we wanted to leave fairly soon, so I think from the time Michael got the van to the time we left was maybe 3 weeks, give or take. That being said we joke about how our road trip ended up being the test drive…but don’t be like us! This post is sort of a basic overview of what we did conversion wise because I didn’t want to make it too long. However I hope it showcases the van in all of its glory!

Nice van! We love it!
LikeLiked by 1 person
Thank you so much!
LikeLike